
How to: SpecialistFinishes – Pitch Pine
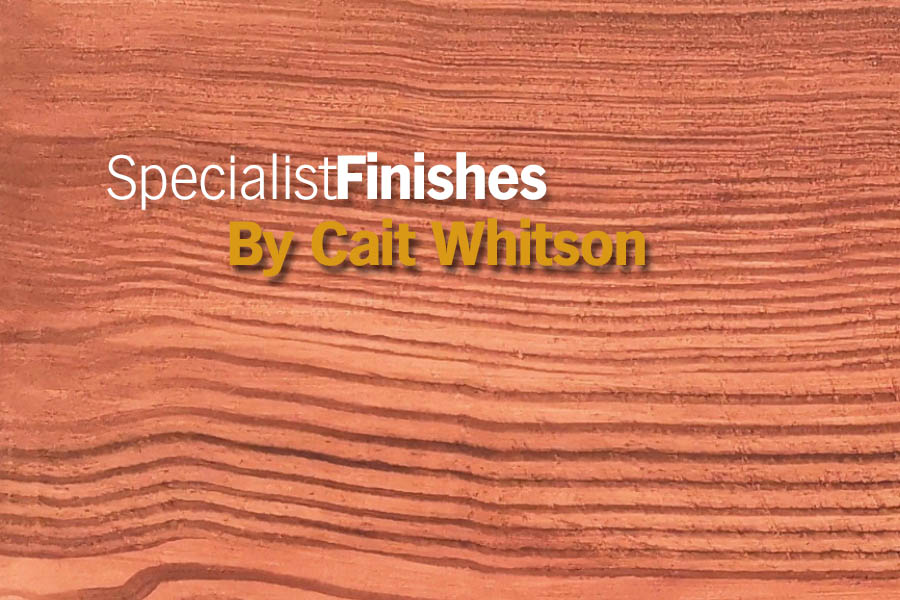
Cait is decorative painter working throughout UK and teaching from her studio in Perth, Scotland. You can see her work and connect with her on social media; Twitter and Instagram or Facebook.
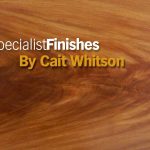
 Anyone that follows me on social media will have seen at least one of the Pitch Pine projects we’ve done over the last year, it’s been our most requested timber to grain. Pitch pine is almost impossible to get new so we have been matching the old and in Scotland there is a lot of it about. It may not be the most exciting timber but it makes a great graining exercise when practising heartwood shapes.
The ground for this is Benjamin Moore Harvest Bronze 1146 Pearl Finish, traditionally 08C35 is what is used.
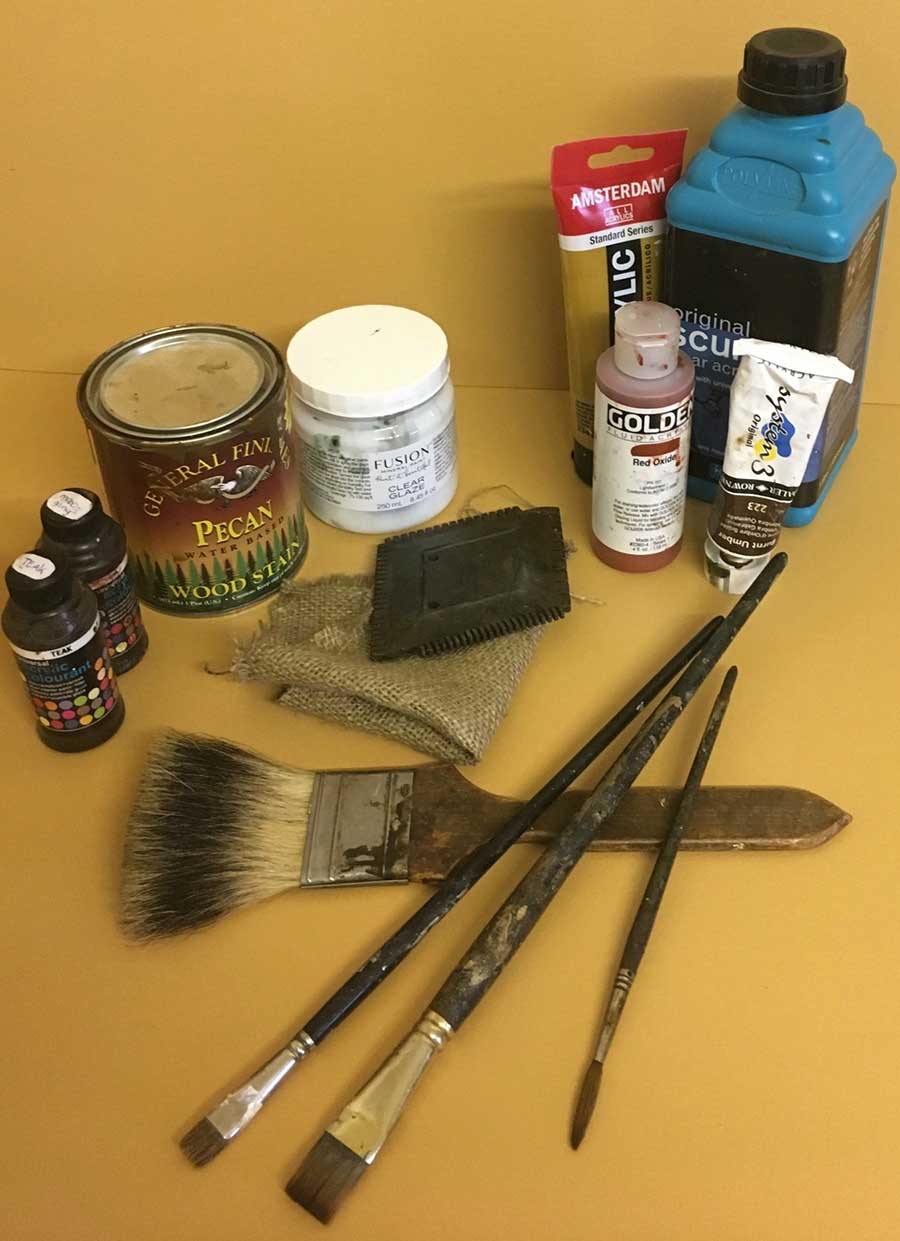
This wood can be done many ways, beer then oil is popular however I’ve done this in acrylic glaze. You can use a range of materials to tint the glaze, one of my favourites is wood stain, General Finishes make excellent ones, otherwise I might use stainers, liquid artists acrylics or tube acrylics. The traditional mix is Raw Sienna, Burnt Sienna and Burnt Umber. For my figuring stage I used my favourite mix of 1 part glaze to 1 Pecan Woodstain, then I added a good dollop of Polyvine Acrylic Stainer in Mahogany and a bit of Teak. For the overglaze I used the traditional recipe.
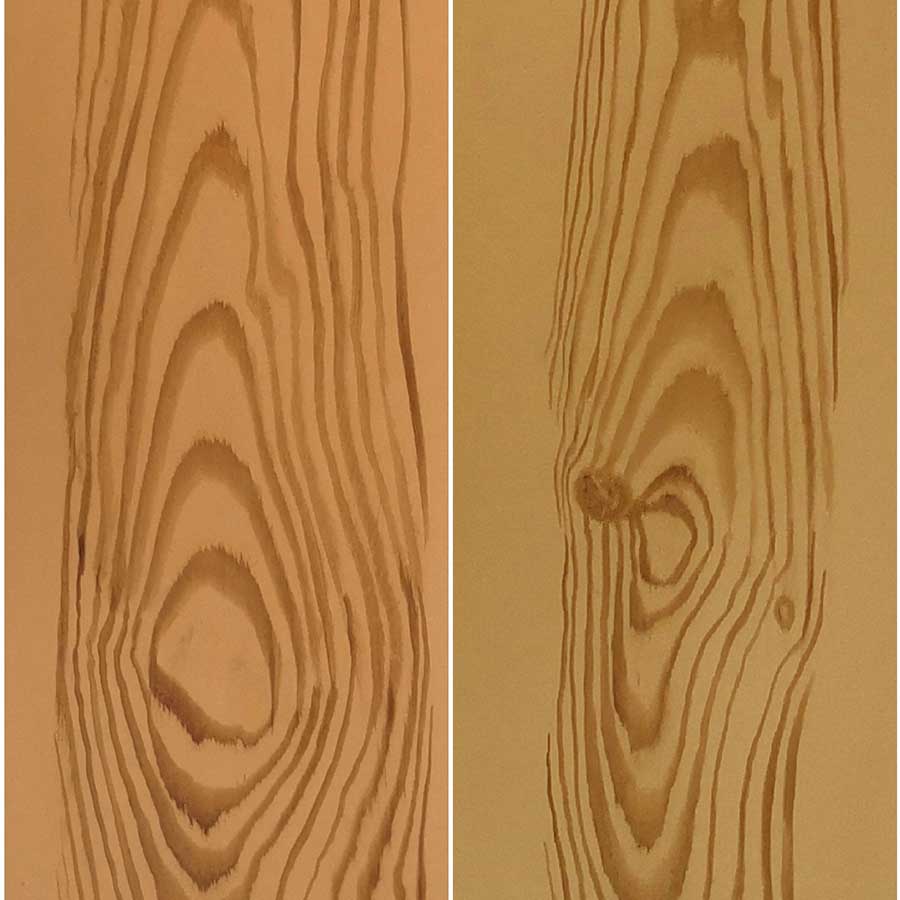 Brushes make a big difference to the style of heartgrain. I use 2 types, a squared off flat or “bright” and a sable rigger or pencil #4 or #5. If you look at the first image, in both heartwoods I used a bright for the top half of the figure and a sable for the bottom half.
Load your brush with the medium, but not too much otherwise when you soften it the figure will become too spikey. With the bright, hold it so that the bristles lie vertically and make a movement up and over without twisting the brush – the movement should come from the shoulder or the elbow not the wrist – this will give a thin side grain and it will be fatter as the flat of the brush travels over the peak. Carry out 3 or 4 of these before softening up and out from the heart of the figure. With the rigger, start using the very tip of the brush to create the side grain, gradually allowing the bristle to drop so it broadens out near the peak of the figure, lifting again as you come down the side. The rigger will give the more curious curly figures; the flat or bright the long slim even figures.
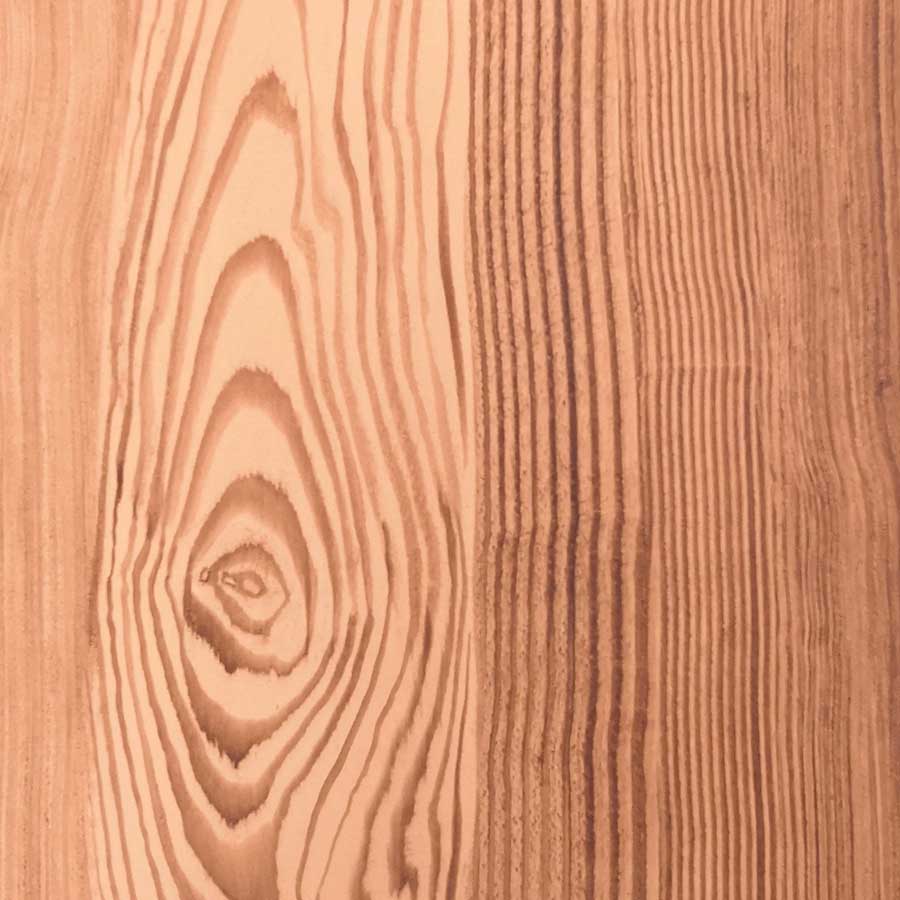 For the side grain I like to use 2 main tools, a rubber comb and a piece of hessian. To create the bolder side grain lay in your glaze and lightly drag a dry brush through to even it out. Fold a piece of lint free cloth over the comb, I would start with the graduated side of it with the thickest comb shapes nearest the heart and draw it through the glaze following the flow of the heartwood. Soften gently away from the heartwood. The finer side grain can be done in the same manner with the finer sides of the comb but a really fine grain can be created using just a piece of hessian folded and then firmly drawn through the glaze.
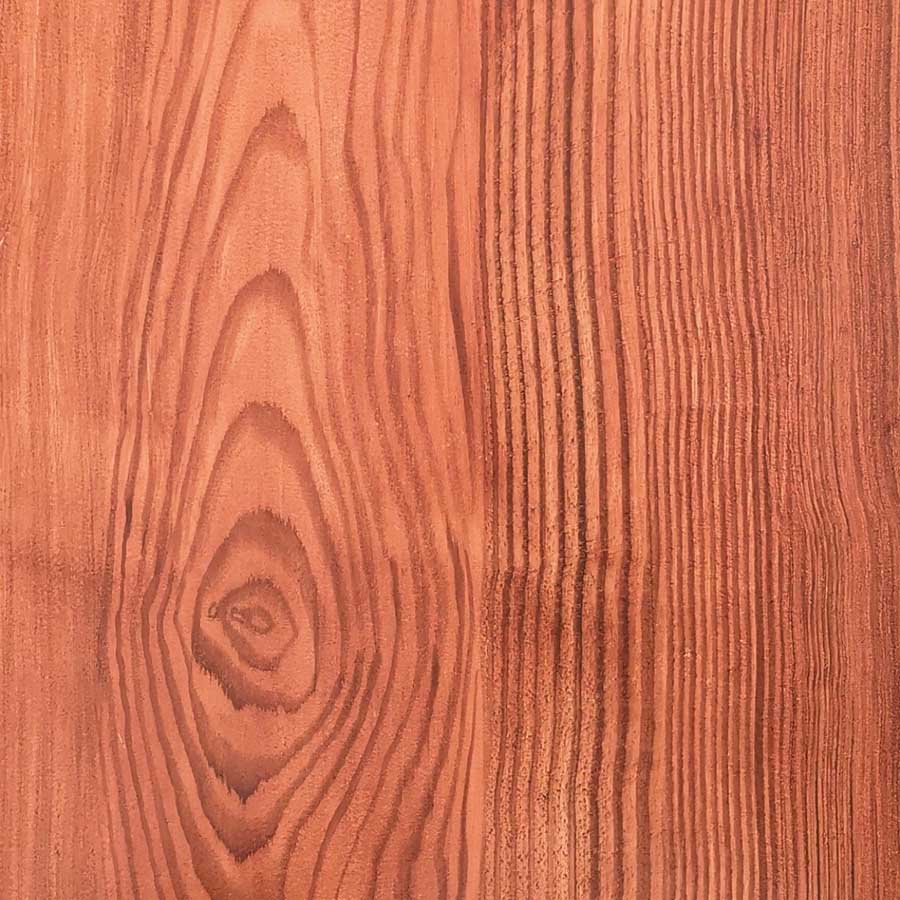 Once dry you can overglaze. The contrast between the heartwood and the side grain is rather stark at this stage so you want to allow more of the overglaze to remain in the heartwood than at the sides. To lightly manipulate the glaze my preferred tool is a camel hair cutter; a foam brush or even just a piece of cotton cloth will do. Draw through the glaze and stop where you want a highlight or lift away sections. Pull the glaze into an area for a darker “shadow”. Soften all over. Finish with an acrylic mid sheen varnish.
Reproduced from The Professional Painter and Decorator Winter 2018 issue
Related posts: