May 29, 2018
How to: SpecialistFinishes – Porto Marble
 Porto Marble
Cait is decorative painter working throughout UK and teaching from her studio in Perth, Scotland. You can see her work and connect with her on social media; Twitter and Instagram or Facebook.
 Porto is fantastically fashionable this year but over and above that, a very beautiful marble to carry out. It is chiefly mined in Italy although it can be found in France, Corsica and Algeria. I find it most useful for fireplaces and table-tops, skirting boards and other trim, along with tops and bases of pillars.
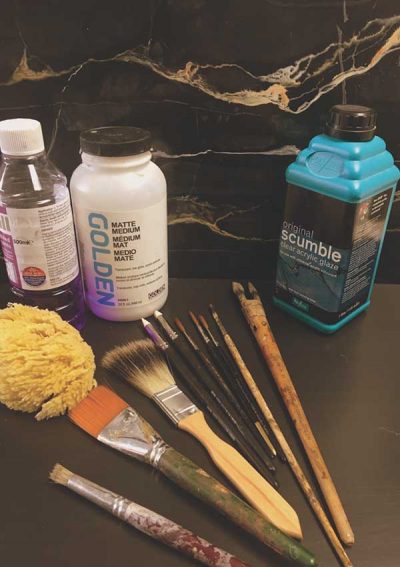
The ground I used was Benjamin Moore Regal Select Pearl Finish in PM-9 Black. I carried out this marble in mainly Matt Medium I thinned it 1:1 with water. Matt Medium allows you to build lots of layers quickly. Drying in about 20 minutes, it is very commercial especially for small projects.
The key palette I use is Titanium White, Yellow Ochre and Burnt Sienna, secondary colours are Burnt Umber, Paynes Grey and Van Dyke Brown.
Step 1
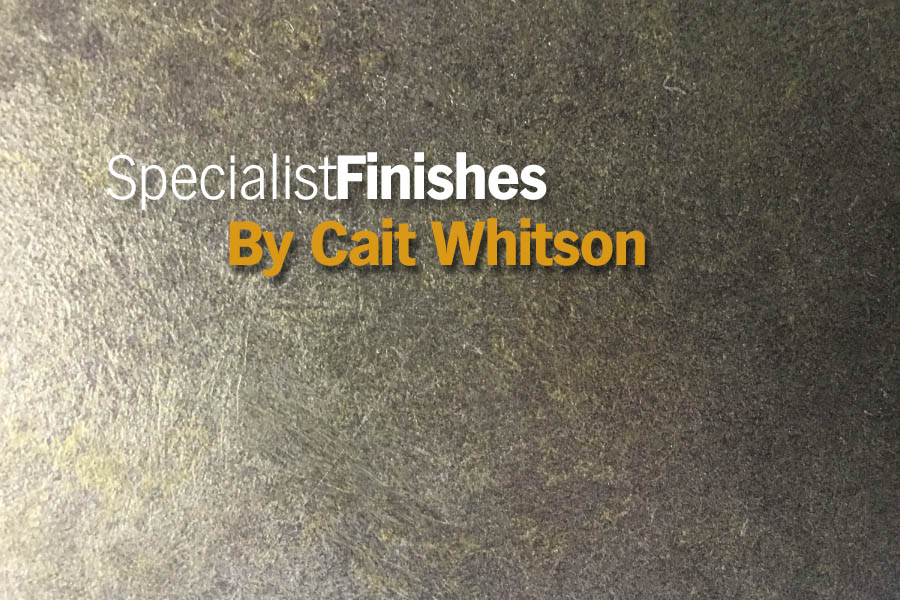
I don’t always apply a background texture unless the budget allows and it’s not truly necessary, but I do find that it gives a suggestion of background veins and a light potential structure to work around. Porto has soft bubbles of white in the background that come and go, and this initial stage helps to build these as well.A thin wash made up from a palette of Titanium White, Yellow Ochre and Burnt Sienna is broken up with a damp natural sponge, as this starts to dry break it again with alcohol – methylated spirits is fine, rag and soften with a badger. This will be dry in about 20 minutes
Step 2
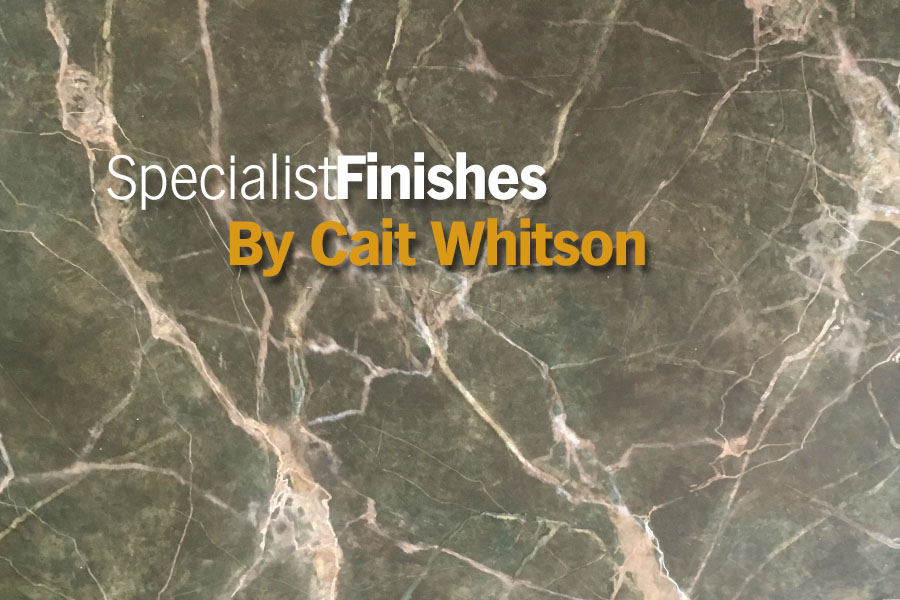
If you need a little “slip”, wipe a thin coat of acrylic scumble over the surface, this may slow the drying though. The veins are applied by triple loading the brush, the matt medium mix is mixed with white and then one side drawn through the Yellow Ochre, and the other side through the Burnt Sienna. The veining is achieved with a dipping, lifting and rolling motion. Try not to paint like an artist, allow the brush to do the work for. Use the upper arm to move the hand up and down as opposed to the wrist. Work on one chain at a time and connect the fat parts of the chains into the pleasing varied loops that are so characteristic of Porto. Parts can be lifted away using a wipe out tool or a piece of an eraser. To create the soft translucency seen in some veins, blot them with a clean piece of cloth. Leave the veins to almost set completely before softening otherwise they will smudge.
Step 3
Continue to build your chains and connect them with a fine network of mainly off white veins. Use the background texture as an aid to build these.
Step 4
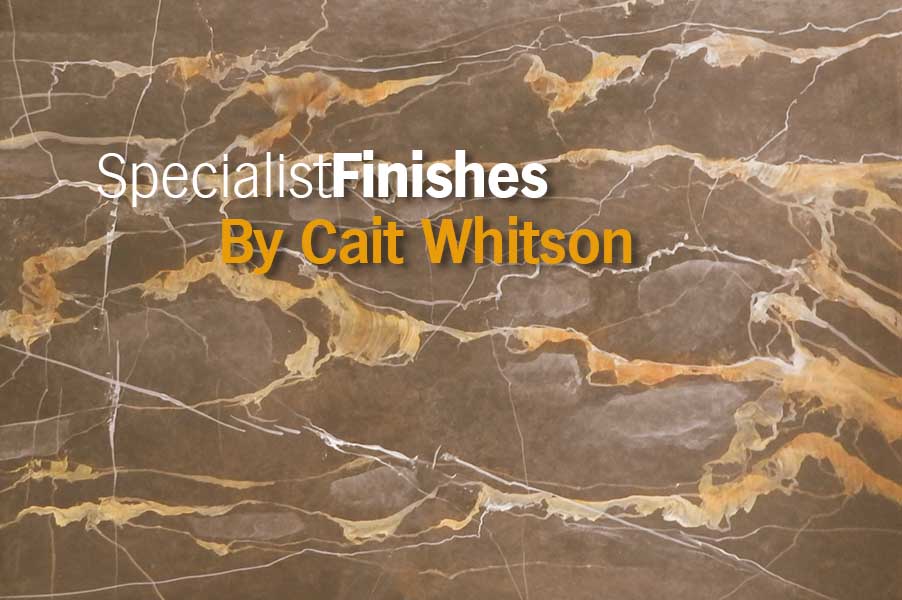
I use a synthetic spalter for this stage but you could use a veinette or overgrainer. Mix a little Paynes Grey and Raw Umber with the Matt Medium, separate the bristles with a brush comb. Draw across the veins to give them depth and texture, this should be thin and soft, wipe away excess from the sides of the veins. Leave to dry. Do the same again with Burnt Sienna adding a little Burnt Umber or Yellow Ochre as you go. Once dry apply a wash of Vandyke Brown. There are pretty, soft white blobs in the background of this marble that generally fall in the spaces between main veins. These can be painted in at this stage – thin white and matt medium blotted and then softened. A few sharp white veins and some fissure will give dimension. Complete the work with a semi gloss varnish.
Reproduced from The Professional Painter and Decorator Spring 2018 issue